ZooScan – Part 3: Storing Our Scanned Animals and Finalizing the UI
In the previous post, we implemented the initial screen and the ImagePicker view. In this post, we will further develop the app. We will create a ViewModel and a ScannedAnimal model, and add the ‘Main’ and ‘Detail’ views. This will allow us to focus on the UI and the app structure before we dive into the machine learning part in later posts. By the way, if you’re looking for an overview of all the posts in this series, you can find them here.
To recap what we’re building, here’s an animated GIF of the app in action.
As we’ve seen, there are four screens we need to implement:
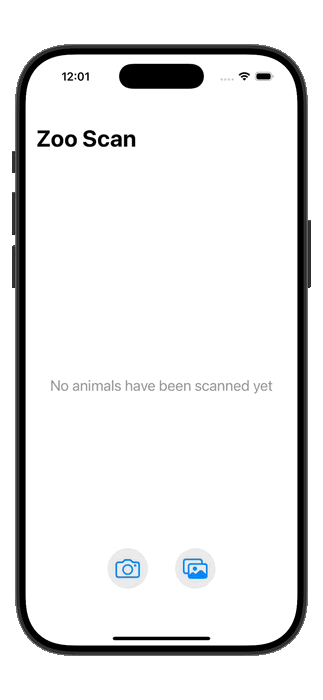
- The initial screen, where no animals have been scanned yet. This screen will show a button to select an animal from the photo library or take a new photo.
- The photo selection or camera screen, a screen that either shows the photo library or the camera, depending on the user’s choice.
- The main screen, where the scanned animals as well as the favorite animals are shown. Both the scanned animals and the favorite animals will be shown in a carousel.
- The detail screen, where the details of a scanned animal are shown, including its name, a larger image, and a button to mark it as a favorite.
In this post, we will focus on the last two screens: the main screen and the detail screen. We will also implement a ViewModel that will handle the logic of the app, and a ScannedAnimal model that will represent the scanned animals. Before implementing the views, let’s focus on what we want to display in them.Let’s create the ScannedAnimal model and the ViewModel.
The ViewModel and the ScannedAnimal Model #
First, we need a model to represent the scanned animals. For now, it’s important that this model holds an image to display and
a unique identifier. To make it easier to use with SwiftUI, we conform the ScannedAnimal model to Identifiable and Hashable
as well. The ScannedAnimal also contains a label for the animal that was scanned, and a more detailed description.
We will set both of these properties to a default value for now, as we will implement the actual classification logic in a later post.
Last, we want to keep track of favorite animals. Add a boolean isLoved property to the model for this purpose.
Here’s what the ScannedAnimal model looks like for now:
import UIKit

struct ScannedAnimal: Identifiable, Hashable {
    let id = UUID()
    let image: UIImage
    // Placeholder for classification label
    let label: String = "Unknown Animal"
    let description: String = "This is a scanned animal."
    var isLoved: Bool

    init(image: UIImage, isLoved: Bool) {
        self.image = image
        self.isLoved = isLoved
    }

    mutating func toggleLoved() {
        isLoved.toggle()
    }
}
Next, we need somewhere to store the scanned animals. We will create a ViewModel that will hold the list of scanned animals and provide methods to add new animals. We’ll call this ViewModel AnimalStore, and it will be an @Observable class. By adding @Observable, its
properties will automatically trigger UI updates when they change. We will need this to observe changes to the animals list from SwiftUI.
The AnimalStore class will look like this:
import Foundation
import UIKit

@Observable
class AnimalStore {
    var animals: [ScannedAnimal] = []

     func addAnimal(image: UIImage) {
         let animal = ScannedAnimal(
               image: image,
               isLoved: false
         )
         animals.insert(animal, at: 0)
      }
}
The AnimalStore has one function addAnimal that takes a UIImage and adds it to the list of scanned animals. To do this, it creates a new ScannedAnimal instance, which is then added to the animals array. The new animal is inserted at the top of the list so that the most recently scanned animal appears first. Using this AnimalStore, we can now manage the scanned animals in our app. Let’s now look at how to change the initial screen to use this AnimalStore and display the main screen and the detail screen.
The Main Screen #
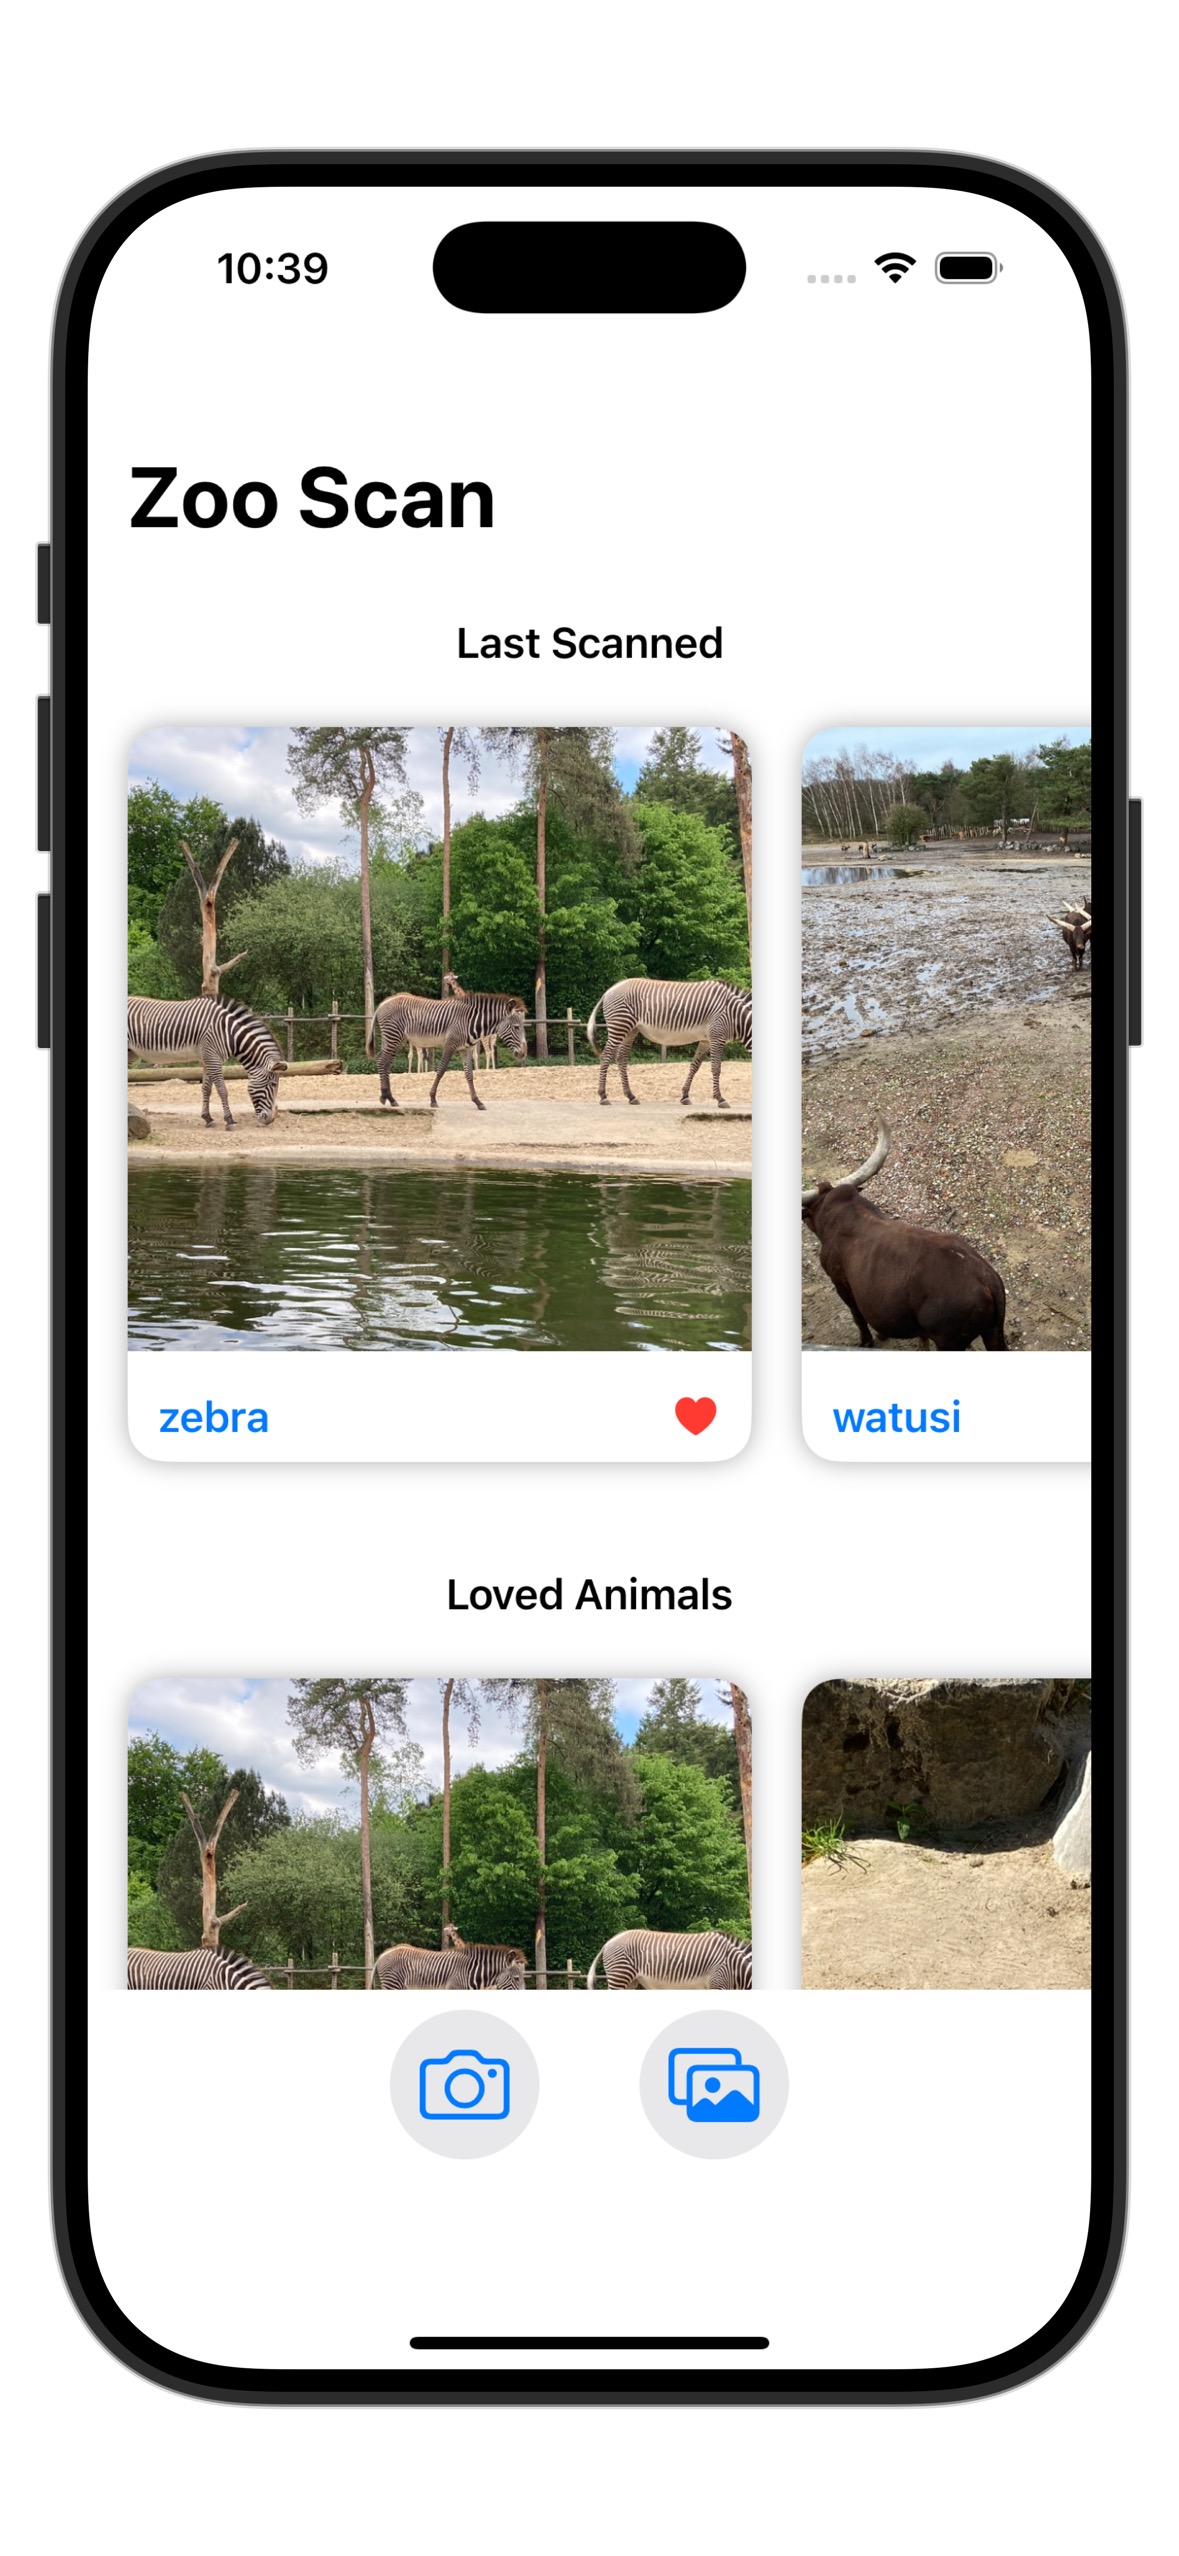
The main screen filled with scanned photos and favorites
The first step is to change the ContentView to use the AnimalStore we just created. We do this by adding a @State property with the AnimalStore to the top of the ContentView:
struct ContentView: View {
   @State private var selectedImage: UIImage?
   @State private var isImagePickerShown = false
   @State private var sourceType: UIImagePickerController.SourceType = .photoLibrary
   @State private var store = AnimalStore()

   var body: some View {
      ...
   }
}
The main screen will show the scanned animals and the favorite animals in two separate carousels. Each of the carousels will display the images that have been
added to the AnimalStore we’ve just added. To add the images we get from the ImagePicker to the AnimalStore add the following code to the ContentView:
.onChange(of: selectedImage) { _, newImage in
   if let image = newImage {
         store.addAnimal(image: image)
         selectedImage = nil
   }
}
This code should be added after the sheet modifier we added in the previous post. This code listens for changes to the selectedImage property, which is set when the user selects an image from the photo library or takes a new photo. When a new image is selected, it calls the addAnimal method of the AnimalStore to add the new animal to the list. After adding the animal, it resets the selectedImage to nil to close the sheet. Now we have a way to add scanned animals to our AnimalStore,
we can start implementing the main screen.
The first step is to check whether the AnimalStore has any animals. If it does not, we will show the initial screen we have already implemented in the previous post. If it does, we will show the main screen we are going to implement next. Change the top part of the ContentView to this:
import SwiftUI
import UIKit

struct ContentView: View {
    @State private var selectedImage: UIImage?
    @State private var isImagePickerShown = false
    @State private var sourceType: UIImagePickerController.SourceType = .photoLibrary
    @State private var store = AnimalStore()

   var body: some View {
   NavigationStack {
         VStack {
               ScrollView {
                  VStack(spacing: 20) {

                     if store.animals.isEmpty {
                           Spacer()
                           Text("No animals have been scanned yet")
                              .font(.title2)
                              .multilineTextAlignment(.center)
                              .foregroundColor(.gray)

                           Spacer()
                     } else {
                        //Show the main screen with scanned animals and favorites
                        ...
                     }
                  }
                  ...
               }
            }
      }
   }
}
The if store.animals.isEmpty checks whether the AnimalStore has any animals. If it does not, it shows our initial screen indicating that no animals have been scanned yet. In the else block, we will implement the main screen that shows the scanned animals and the favorites. Note that we also added a ScrollView to the VStack to allow scrolling if there are many animals. Since the image carousels can grow large, the scroll view helps keep the UI manageable. Next, let’s add the code
for the main screen to the else block above. We will use a CarouselView to display the scanned animals and the favorites. The CarouselView is a custom view that we will implement later. For now, we can just assume that it exists and use it in our code.
else {
      VStack
      {
         Text("Last Scanned")
            .font(.headline)
         CarouselView(animals: $store.animals)
      }
      .padding(.top, 20)

      VStack {
         Text("Loved Animals")
            .font(.headline)
         if store.animals.filter({ $0.isLoved }).isEmpty
         {
            Text("No loved animals yet")
                  .font(.title2)
                  .foregroundColor(.gray)
         }
         else
         {
            CarouselView(animals: $store.animals, filter: { $0.isLoved })
         }
      }
      .padding(.top, 10)
      Spacer()
}
The code above adds two sections, each in its own VStack. The first section shows the last scanned animals, and the second section shows the loved animals.
The last scanned section has a title “Last Scanned” and passes the animals list in the store as a binding to the CarouselView. However, the second section has
a bit more logic. It checks if any animals in the AnimalStore are marked as loved. If there are no loved animals, it shows a message indicating that there are no loved animals yet. If there are loved animals, it shows a CarouselView. To only show the loved animals, it passes a filter closure to the CarouselView showing
only those animals for which $0.isLoved holds true.
The CarouselView is a custom view that we will implement next. It takes a binding to the animals array from the AnimalStore and an optional filter closure to filter the animals to be displayed.
import SwiftUI

struct CarouselView: View {
    @Binding var animals: [ScannedAnimal]
    var filter: ((ScannedAnimal) -> Bool)? = nil
    @State private var selectedAnimal: Binding<ScannedAnimal>? = nil

    var body: some View {
        ScrollView(.horizontal, showsIndicators: false) {
            LazyHStack(spacing: 20) {
                ForEach($animals) { $animal in
                    let shouldDisplay = filter.map { $0(animal) } ?? true

                    if shouldDisplay {
                        NavigationLink(value: animal.id)
                        {
                            AnimalCardView(animal: $animal)
                        }
                    }
                }
            }
            .padding(.horizontal)
        }
        .frame(height: 320)

    }
}
The CarouselView uses a horizontal ScrollView with a LazyHStack to display the animals. It iterates over the animals array and creates an AnimalCardView for each animal. If a filter is provided, it checks whether the animal should be displayed based on the filter condition. If the animal passes the filter, it creates a NavigationLink that navigates to the detail view of the animal when tapped. The AnimalCardView is a custom view that we will implement next. Add the following code to a file called AnimalCardView.swift:
import SwiftUI

struct AnimalCardView: View {
    @Binding var animal: ScannedAnimal

    var body: some View {

        VStack {
            Image(uiImage: animal.image)
                .resizable()
                .scaledToFill()
                .frame(width: 250, height: 250)
                .clipped()

            HStack {
                Text(animal.label)
                    .font(.headline)

                Spacer()

                Button(action: { animal.toggleLoved() }) {
                    Image(systemName: animal.isLoved ? "heart.fill" : "heart")
                        .foregroundColor(.red)
                }
            }
            .padding(.horizontal, 12)
            .padding(.vertical, 8)
        }
        .background(Color.white)
        .cornerRadius(15)
        .shadow(radius: 5)
        .padding(.vertical, 5)

        .buttonStyle(.plain)
    }

}
The AnimalCardView is passed a binding to a ScannedAnimal instance. It displays the animal’s image and its classification label. The Image is displayed in a resizable view that fills the available space, and it is clipped to fit within the specified frame with a width and height of 250 pixels. Below the image, a HStack shows the label for the ScannedAnimal. There’s also a button to toggle the loved state of the animal. The button uses a heart icon that changes based on whether the animal is loved or not. Both icons come from Apple’s SF Symbols library. The main screen is now complete. The last part of the UI is implementing the detail screen, which we’ll do in the next section.
The Detail Screen #
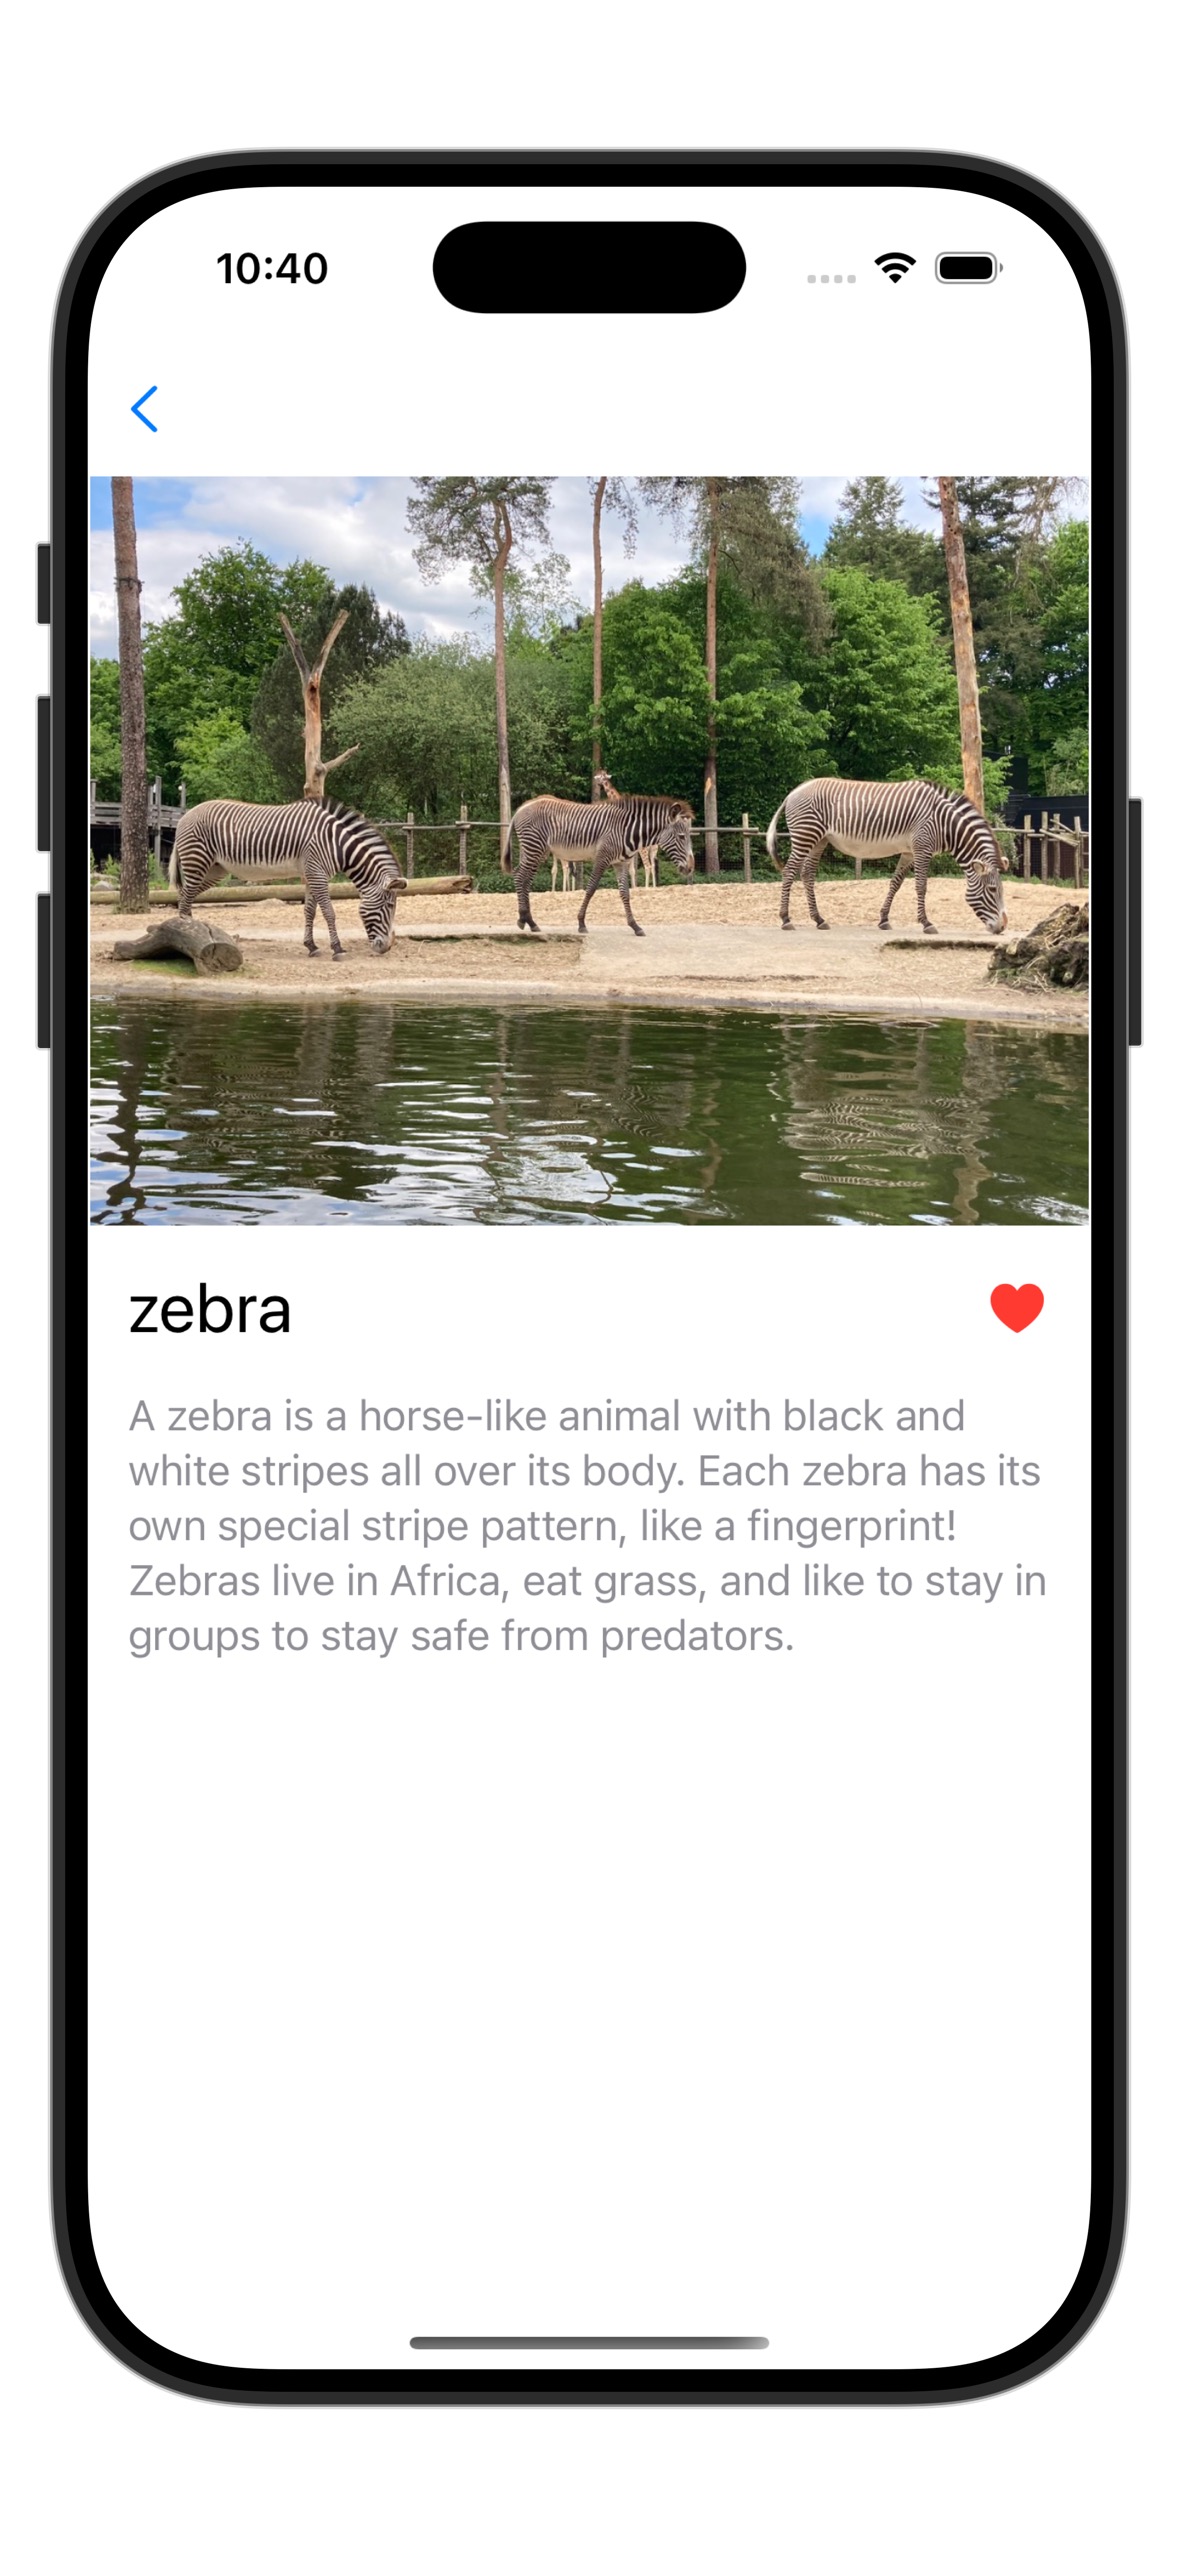
The detail view of a scanned animal
The AnimalDetailView is a view that shows more information about a scanned animal. It displays the animal’s image, its classification label, and a description. It also has a button to toggle the loved state of the animal. The detail view is shown when the user taps on an animal in the carousel. To implement the detail view, add
the following code to a new file called AnimalDetailView.swift:
import SwiftUI

struct AnimalDetailView: View {
    @Environment(\.dismiss) private var dismiss
    @Binding var animal: ScannedAnimal

    var body: some View {
        VStack(spacing: 0) {
            HStack {
                Button(action: { dismiss() }) {
                    Image(systemName: "chevron.left")
                        .font(.title2)
                }
                Spacer()
            }
            .padding()

            Image(uiImage: animal.image)
                .resizable()
                .scaledToFit()
                .frame(maxWidth: .infinity)
                .frame(height: 300)
                .clipped()

            VStack(alignment: .leading, spacing: 16) {
                HStack {
                    Text(animal.classification.label)
                        .font(.title)

                    Spacer()

                    Button(action: { animal.toggleLoved() }) {
                        Image(systemName: animal.isLoved ? "heart.fill" : "heart")
                            .foregroundColor(.red)
                            .font(.title2)
                    }
                }

                Text(animal.description)
                    .multilineTextAlignment(.leading)
                    .frame(maxWidth: .infinity, alignment: .leading)
                    .font(.body)
                    .foregroundColor(.gray)
            }
            .padding()

            Spacer()
        }
        .navigationBarHidden(true)
    }
}
We see that most of the parts of the detail view are similar to the AnimalCardView. The main difference is that the detail view shows a larger image of the animal, and also adds a description. The button to toggle the loved state of the animal is also present. To display details about the animal that was selected, the detail view takes a binding to a ScannedAnimal. It also uses an @Environment variable to dismiss itself when the back button is pressed.
Now we need to connect the AnimalDetailView to the CarouselView so that when the user taps on an animal, they are taken to the detail view of that animal.
To implement this, we already added a NavigationStack and a NavigationLink to navigate to the detail view before. The NavigationLink uses the id of the ScannedAnimal to retrieve the selected animal in the detail view. To retrieve the selected animal and display its AnimalDetailView, we need to add a navigationDestination modifier to the NavigationStack in the ContentView, like this:
.navigationDestination(for: ScannedAnimal.ID.self) { animalId in
      if let animalBinding = $store.animals.first(where: { $0.id == animalId }) {
         AnimalDetailView(animal: animalBinding)
      }
}
This code adds a navigation destination for the ScannedAnimal.ID type. When the user taps on an animal in the carousel, it retrieves the corresponding ScannedAnimal from the AnimalStore using its id. It then passes a binding to that animal to the AnimalDetailView, allowing it to display the details of the selected animal. The AnimalDetailView is then pushed onto the NavigationStack we added earlier.
Conclusion #
We’ve now completed the UI part of the ZooScan app. Now the user can view a list of scanned animals, tap on an animal to see its details, and toggle its loved state. Now
the fun begins! The next step is to implement the machine learning part of the app. We will implement a model that can classify animals based on the images we scan. This will allow us to automatically fill the details of the ScannedAnimal model.